How to build your own magic wand
Inspired by Harry Potter's universe
We went with my wife and kids to see the Harry Potter studios in the UK. I have to admit that we all were fans of the books and movies, but I wasn't prepared to what went on over here. Being there, immersed in Harry Potter's universe as we had seen for so long onscreen, was truly overwhelming. So much in fact that when we went to the shop at the end of the tour and watched the magic wands there for sale, I stated to my family: "We are all going to have our own." At £25 a pop, that's £125 worth of magic wands! Well, magic seems to exist after all...
To be fair, those wands are really nice, heavy, beautiful, in nice boxes. Real collectibles, not the plastic crap I feared we would be presented with.
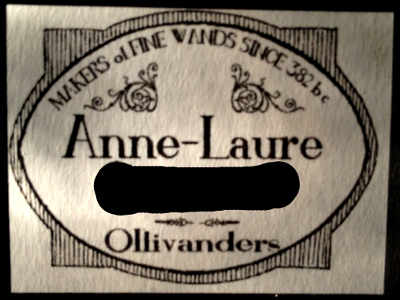
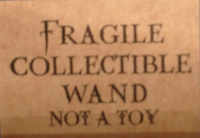
And off we went home, with our nice wands. I even went to the trouble of printing custom labels for all the family as you can see below. But as the label states, well, those are not toys. The kids got it and reacted nicely. Sometimes we get them out but we don't let them play with them on their own - and even less carry them around with friends.
But this week was Mardi Gras and one of my girls was to have a costume of ... Hermione Granger. So she needed a wand, for school. And there was no way to let her take the collectible - she even agreed with us. So I started the task of home-building custom wands for toys. A second set of wands actually as my other two kids were quick to point out.
First of all you need a piece of wood. Here is the one I used - a simple cylinder of light wood as you will find in any DIY shop. It doesn't look like much but it has the right length and diameter.
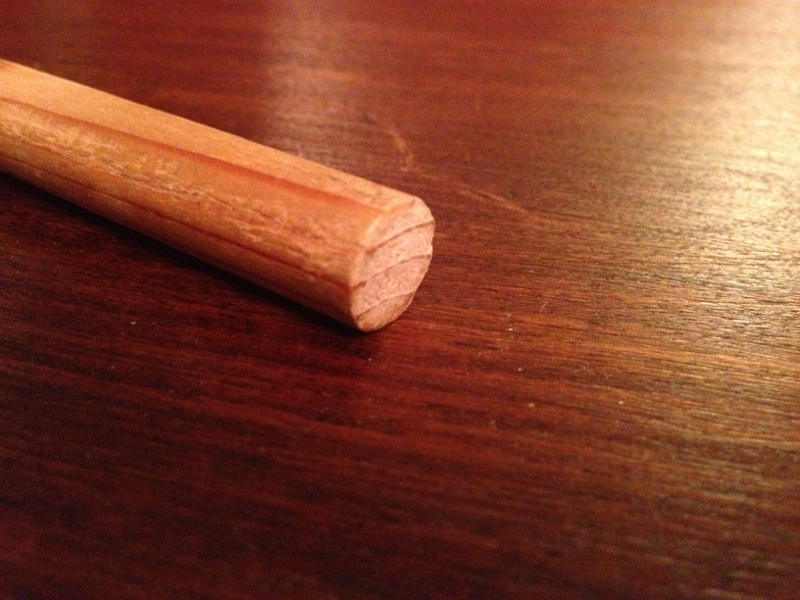 The piece of wood I carved the wand in. 12mm by 35cm.
Second, you will need to carve your way through the wand, there is just no alternative. A few tips here:
- Use a Dremel. It's about the perfect tool for the job.
- Buy more than the 20cm the wand will be, so you can train with the various Dremel accessories on extra material.
- Draw with a pencil the areas you're supposed to carve out. Carving steadily is painful enough, you don't want to think about where to carve at the same time. Just like carving out a pumpkin, except that you should not get through ;-)
- Have some fine grained sandpaper around for the finish. I didn't for my first wand and it shows.
 My Dremel.
 The extra material used for "training".
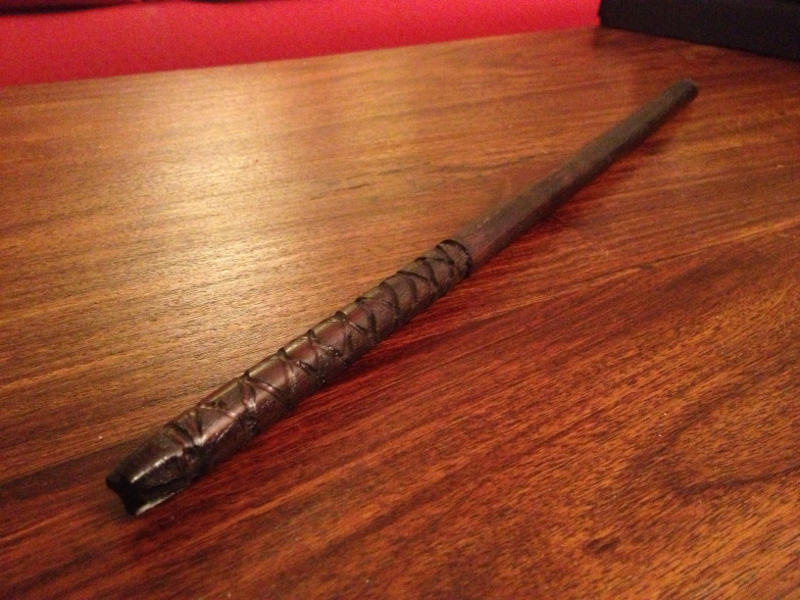
When you're done here, remain the dye and varnish. I used leftovers I had when I redid my hardwood floor. The dye is "Wengé" which is really dark brown - almost black. The varnish is a regular hardwood floor varnish. The dye took about 6 hours to dry and the varnish around 12 hours to be completely dry - when touching it. I let it dry 24 hours after that just to be on the safe side.
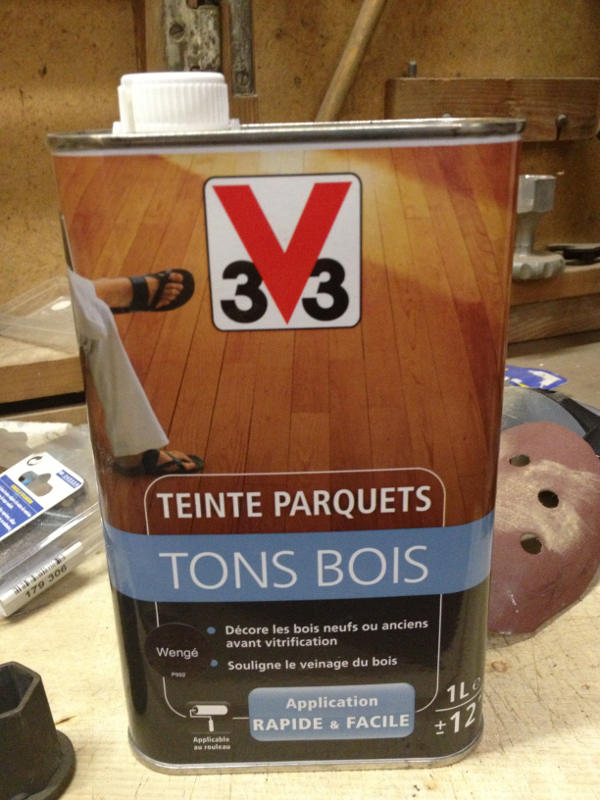 The dye I used, made for hardwood floors.
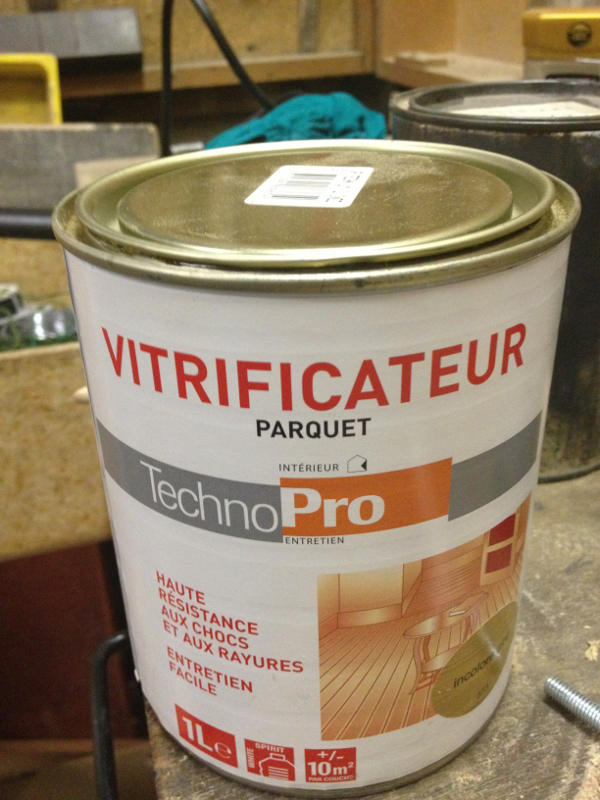 The varnish, also for hardwood floors, the French variety.
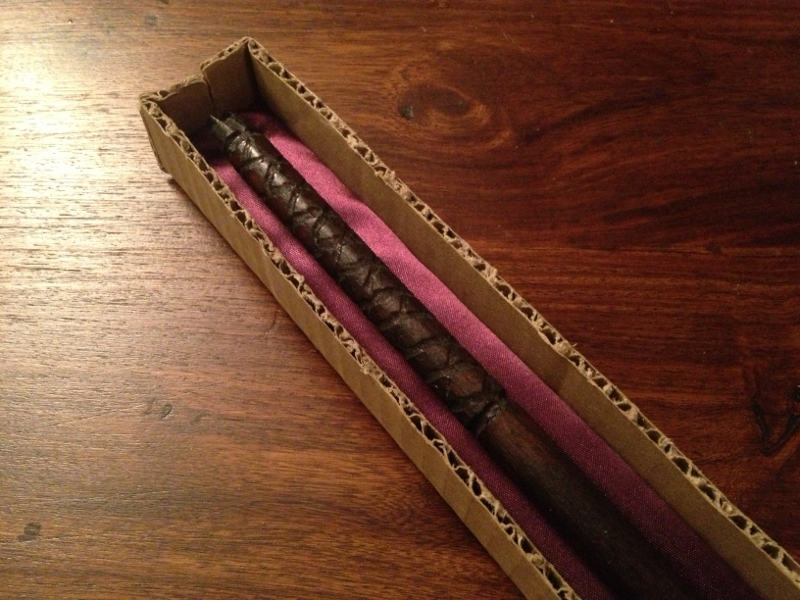
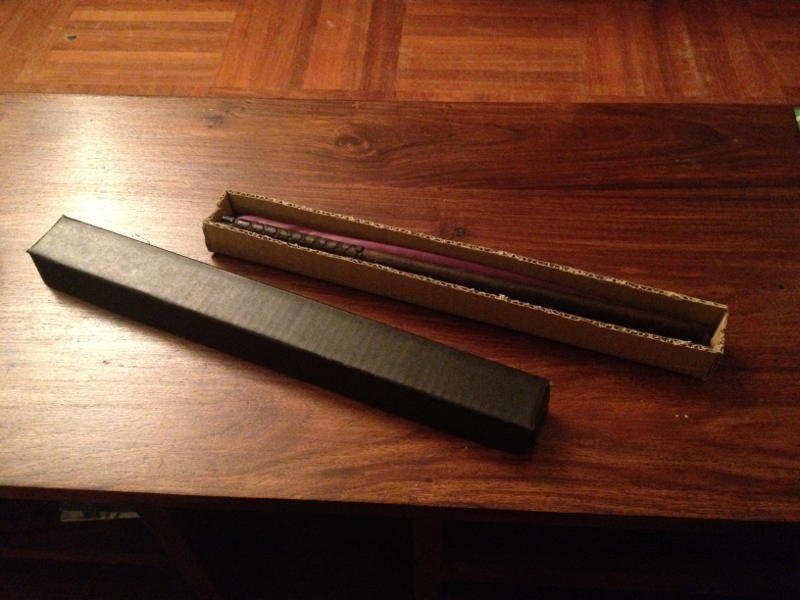
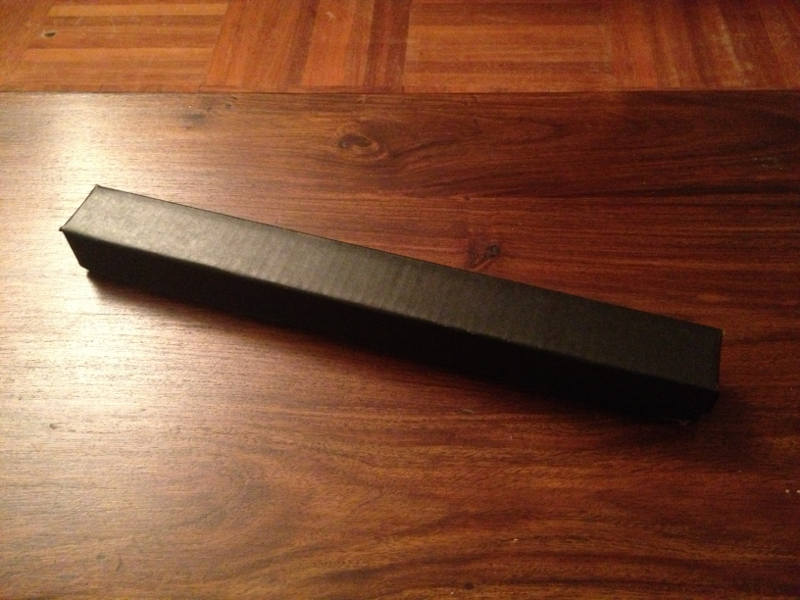
Now that the wand is drying, it's time to protect it. As my daughter put it just when I was done with the first layer of varnish, "Dad, I need a box to protect it in my bag. It could break." Well, I'm afraid she was just spot-on. And off I go cutting cardboard. That part was probably longer than the wand, but much simpler. Just take a few cardboard boxes you have lying around and cut the box through them. I was lucky to have a black box so I cut the cover through it. I used pretty thick cardboard making the finish less nice but the box really is extra-strong.
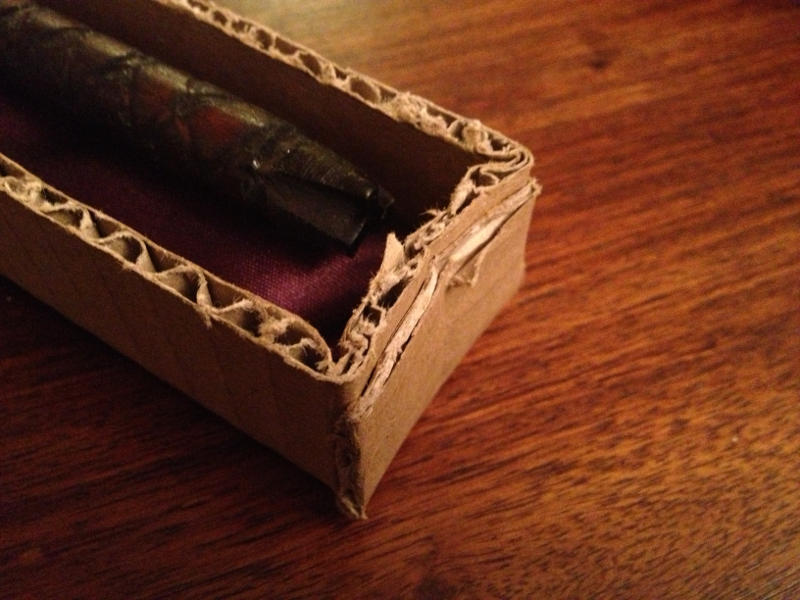 Detail of the box.
 Detail of the cover.

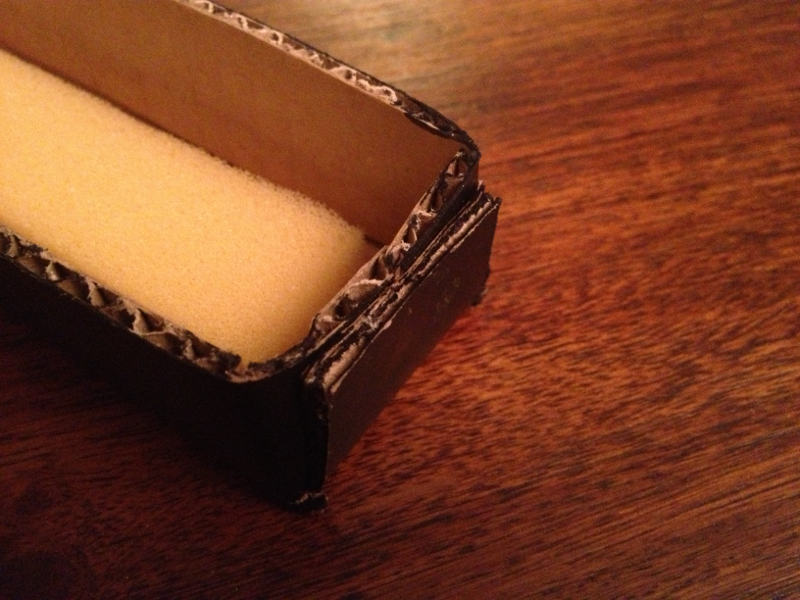
Just glue a little purple velvet (Got it from my wife's costume she was sawing for the same Mardi Gras) in the bottom, and a piece of foam under the cover to hold the wand in place when inside the box. And you're done!
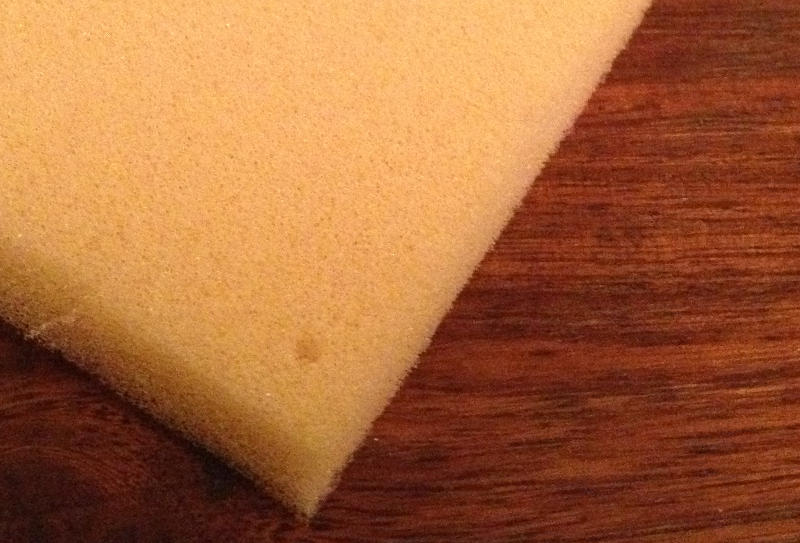 The foam I used in the cover.
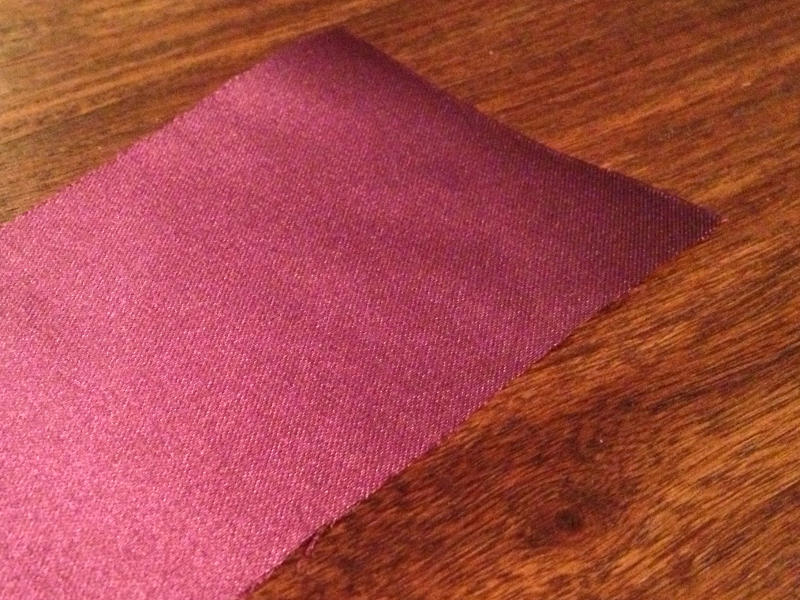 The piece of fabric. Not really velvet, but I did with what I had.
Here are the pictures of my first wand, more to come